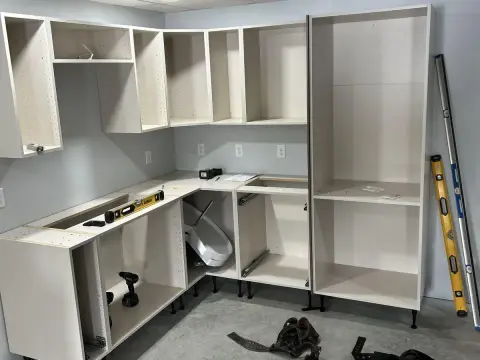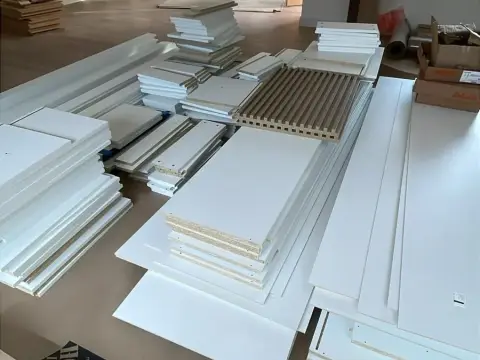
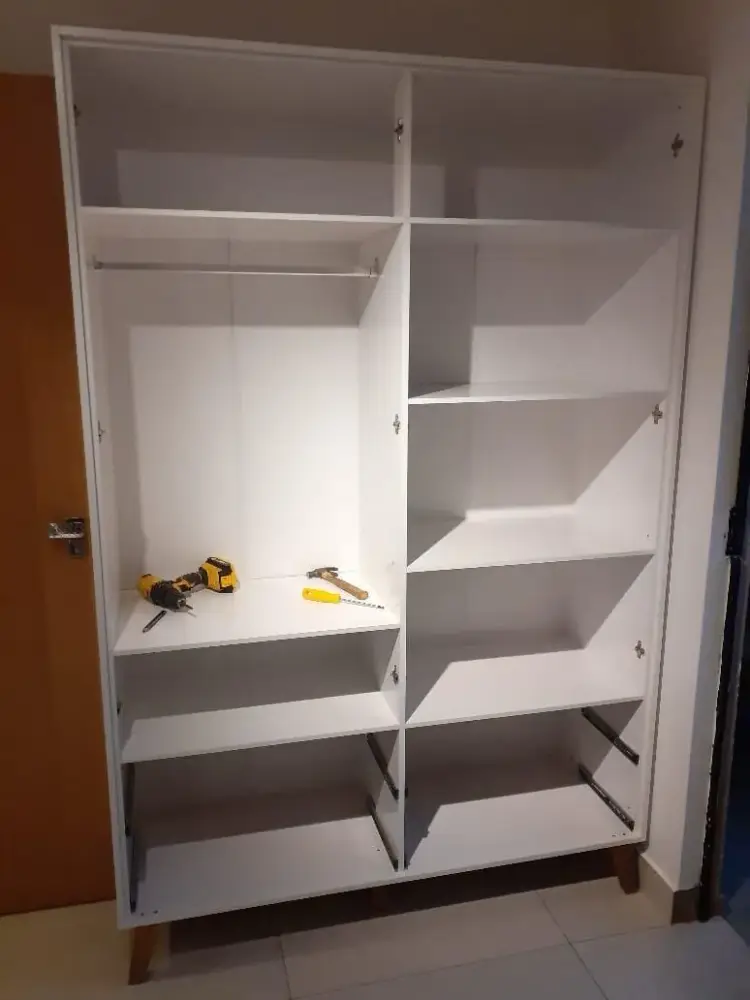
This wardrobe assembly guide starts with the question most people ask first: where do all these panels go? In fact, the job goes much more smoothly when you follow the right order. Below, we share the method our team uses on real jobs across Istanbul, step by step.
Wardrobe Assembly Guide: Preparation
First, carry all the boxes into the room where the wardrobe will stand. Then lay out the panels and compare each one with the instruction sheet. That way, you spot a missing part before you start. Also, protect your floor with a large piece of cardboard or an old blanket. Good preparation, after all, is the most useful part of any wardrobe assembly guide.
Before you begin, gather these tools:
- A screwdriver set and a cordless drill
- A rubber mallet and a spirit level
- Wall plugs and screws for anchoring
- At least two people for lifting
Build the Frame in the Right Order
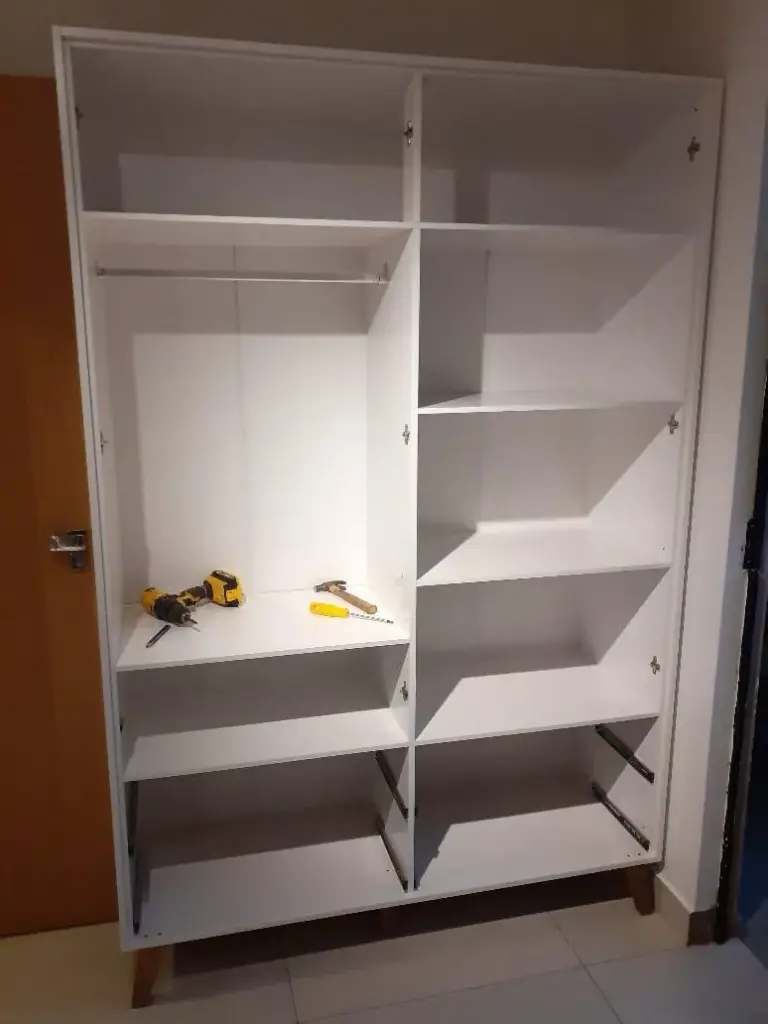
To begin with, join the bottom panel to the side panels. Next, add the top panel and build the frame flat on its back. At this stage, fix the back panel in place, because it keeps the frame square. However, always have two people ready when you stand the frame up. A tall frame can twist or crack if one person lifts it alone.
Wardrobe Assembly Guide: Doors and Rails
Once the frame stands upright, hang the doors. Then use the hinge screws to adjust each door in three directions. For example, if the gaps between the doors look uneven, a small turn of the side screw usually solves it. On sliding models, on the other hand, take your time with the rail adjustment. You can read more in our post on wardrobe door adjustment.
Never Skip Wall Anchoring
Tall wardrobes can tip over. That is why you should always fix the safety bracket that comes with the product to the wall. In addition, choose wall plugs that suit your wall type. Drywall and concrete, for instance, need different plugs. So check your wall carefully before you drill.
Wardrobe Assembly Guide: Final Checks
When you finish, run a few quick checks. First, open and close every door and look at the gaps. Then make sure the drawers slide smoothly on their runners. After that, press gently on a top corner to test for wobbling. If the wardrobe rocks, adjust the feet again with a spirit level. Finally, confirm that the wall bracket feels tight. As a result, your wardrobe stays solid and straight for years.
When Should You Call a Pro?
Large wardrobes with many doors and sliding systems take real experience. So even though this wardrobe assembly guide gives you a clear plan, we suggest getting help for big jobs. Our team offers wardrobe assembly across Istanbul with a 6-month aftercare guarantee. You can also see real examples on our Our Work page.
For more about wardrobe styles, see the Wikipedia article on the wardrobe. In short, with the right order and the right tools, building a wardrobe can feel easy and even fun.